seeformiles
Lost in the wood
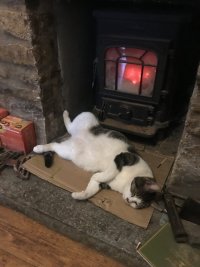
Lil’ Bob petitioning for second dinner


I thought it of as face-palm, at the sheer idiocy of humans.I always think when they tuck their head into their paws it means they have a bit of a headache.
(I don't know that for certain but it seems a bit "I have a headache" thing to do iykwim).


Just wait for the 3 a.m howling when she's old. MuahahaaaLilith just did the cutest little miaow in her sleep! My heart's melting.

When she's old?!Just wait for the 3 a.m howling when she's old. Muahahaaa
Miko and Draco in the garden

They're like a pair of Buckingham Palace guards!"Sat on a park bench like bookends"
'Get off my seat'.


Build stage 1 - The base.Cat infrastructure update.
You may remember a while back I designed a cat ladder and wall mounted path to join two window ledges together after a near accident left patch hanging from stair railings and me with my shorts around my ankles leaning out the toilet window to save him.
Well I have noticed a new project.
Our improvised outside cat housing has seen better days.
View attachment 317615
It is particularly battered as the locals use its roof to gain access to the tower of solitude.
View attachment 317616
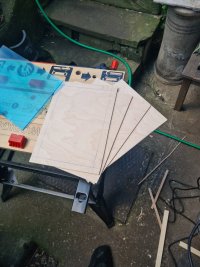
Well I decided things needed upgrading.
Got on the 2 to West Norwood and raided the B&Q.
View attachment 317617
I also saved the packaging my laser cutter came in to use as insulation.
View attachment 317618
I also have perspex for windows. The rest was a amazon shop.
View attachment 317619
I gave now drawn up so plans and will be starting my build tomorrow.
View attachment 317620
Working out the placement of the cat flaps after adding the insulation was a pain.


")